
Simpsons Portrait Tools: Free vs Paid Workflows
A free character builder, a photo-based AI tool and a commissioned artist solve different problems. Start with the result you need: a character you assemble, a portrait guided by your photo, or an illustration made to a brief.
About this guide: Simpsonify publishes it. This is a workflow comparison, not an independent ranking or a head-to-head product test. We removed the previous version’s unsupported numerical ratings, accuracy percentages and search-volume estimates. We have not measured competitors’ likeness, speed or output quality, and do not quote their unverified prices. Publication history and the original URL are preserved.
Which workflow fits your task?
| Workflow | What you do | What to check before committing |
|---|---|---|
| Manual character builder | Choose features and assemble an avatar yourself. | Whether the available features match your idea, download options, watermarks and usage terms. A builder does not necessarily transform a photo. |
| Photo-based AI tool | Supply a photo and choose the available look or controls. | Likeness across several examples, credit cost, failed-generation policy, output dimensions and handling of uploaded photos. |
| Commissioned artist | Agree a brief and work with a person on the illustration. | Portfolio fit, quote, delivery date, revision scope and rights. These depend on the individual agreement. |
| Simpsonify | Prepare a photo and use the studio’s available portrait controls. | The credit cost shown before creation, the examples, export options and whether a generated interpretation suits your intended use. |
“Free” alone does not tell you whether the downloaded result is usable. Check the export itself, rather than assuming every free tool has a watermark or every paid tool produces a better portrait.
When a manual builder makes sense
Choose this route when selecting individual facial features is part of the fun and you can work within a tool’s character parts. Try building the character and inspect the available download before spending time on a large group.
If you want to start from a photograph instead, read how to create a character without drawing skills. For a drawing workflow, see the Simpsons-style drawing guide.
When to use a photo-based tool
A photo tool is a useful starting point when you want an interpretation of your own face without assembling each feature. It is still a generated image: details such as glasses, hair, clothing and facial expression can change. Inspect those details before choosing an image for a profile, card or gift.
Start with a clear, well-lit photo. If the face is small, covered or blurred, choose another source rather than assuming payment will fix it. The complete portrait guide walks through preparing an image and reviewing the result.
What Simpsonify offers
The Simpsonify studio starts with a photo and the looks available in the interface. Preparing a photo is separate from buying or spending credits; review the current cost before creating. Use the studio and checkout for current prices, rather than relying on an old subscription or per-image estimate in an article.
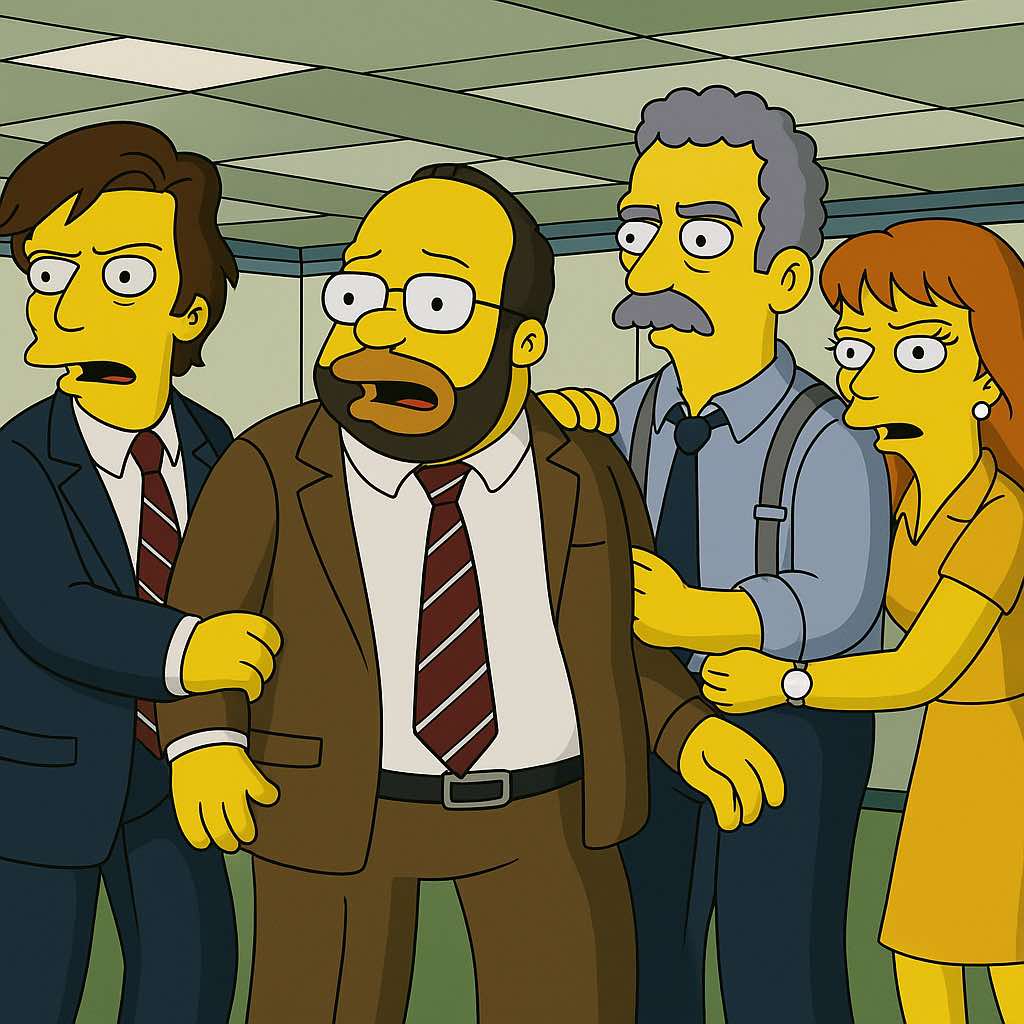
This is an example of the product’s style, not a controlled comparison or a guarantee that another photo will produce the same likeness. Simpsonify is an independent tool, not affiliated with or endorsed by The Simpsons.
When an artist is a better fit
Consider a person working to a brief when exact clothing, a particular composition or agreed revisions matter more than an immediate generated result. Ask to see relevant work and agree the scope before ordering. There is no universal artist price or turnaround time, so this guide does not assign either.
For printing or commercial use, verify dimensions and usage rights with whichever provider you choose. Payment does not automatically grant every right you might need.
A practical comparison you can do yourself
- Choose a photo you own and are comfortable uploading under each service’s privacy terms.
- Write down the intended result: for example, a recognizable face in a square profile picture.
- Use comparable settings where available, and record the date and actual cost of each attempt.
- Inspect facial details, artifacts, cropping and the downloaded file’s dimensions.
- Check whether the price covers another attempt, revisions or additional exports. Do not infer this from a preview.
- Keep the examples and your notes together. One successful or unsuccessful image is a sample, not an accuracy percentage.
Decide from the output you need
For a character assembled feature by feature, start with a manual builder. For a photo-guided interpretation, compare actual examples from photo tools. For work that needs agreed details and revisions, discuss a brief with an artist.
If a photo-guided cartoon portrait is what you want, start with the character maker, then check the studio’s current offer before creating.